
Hello,
Today we are sharing a tutorial on making a layered card. This is easy to make and looks elegant.
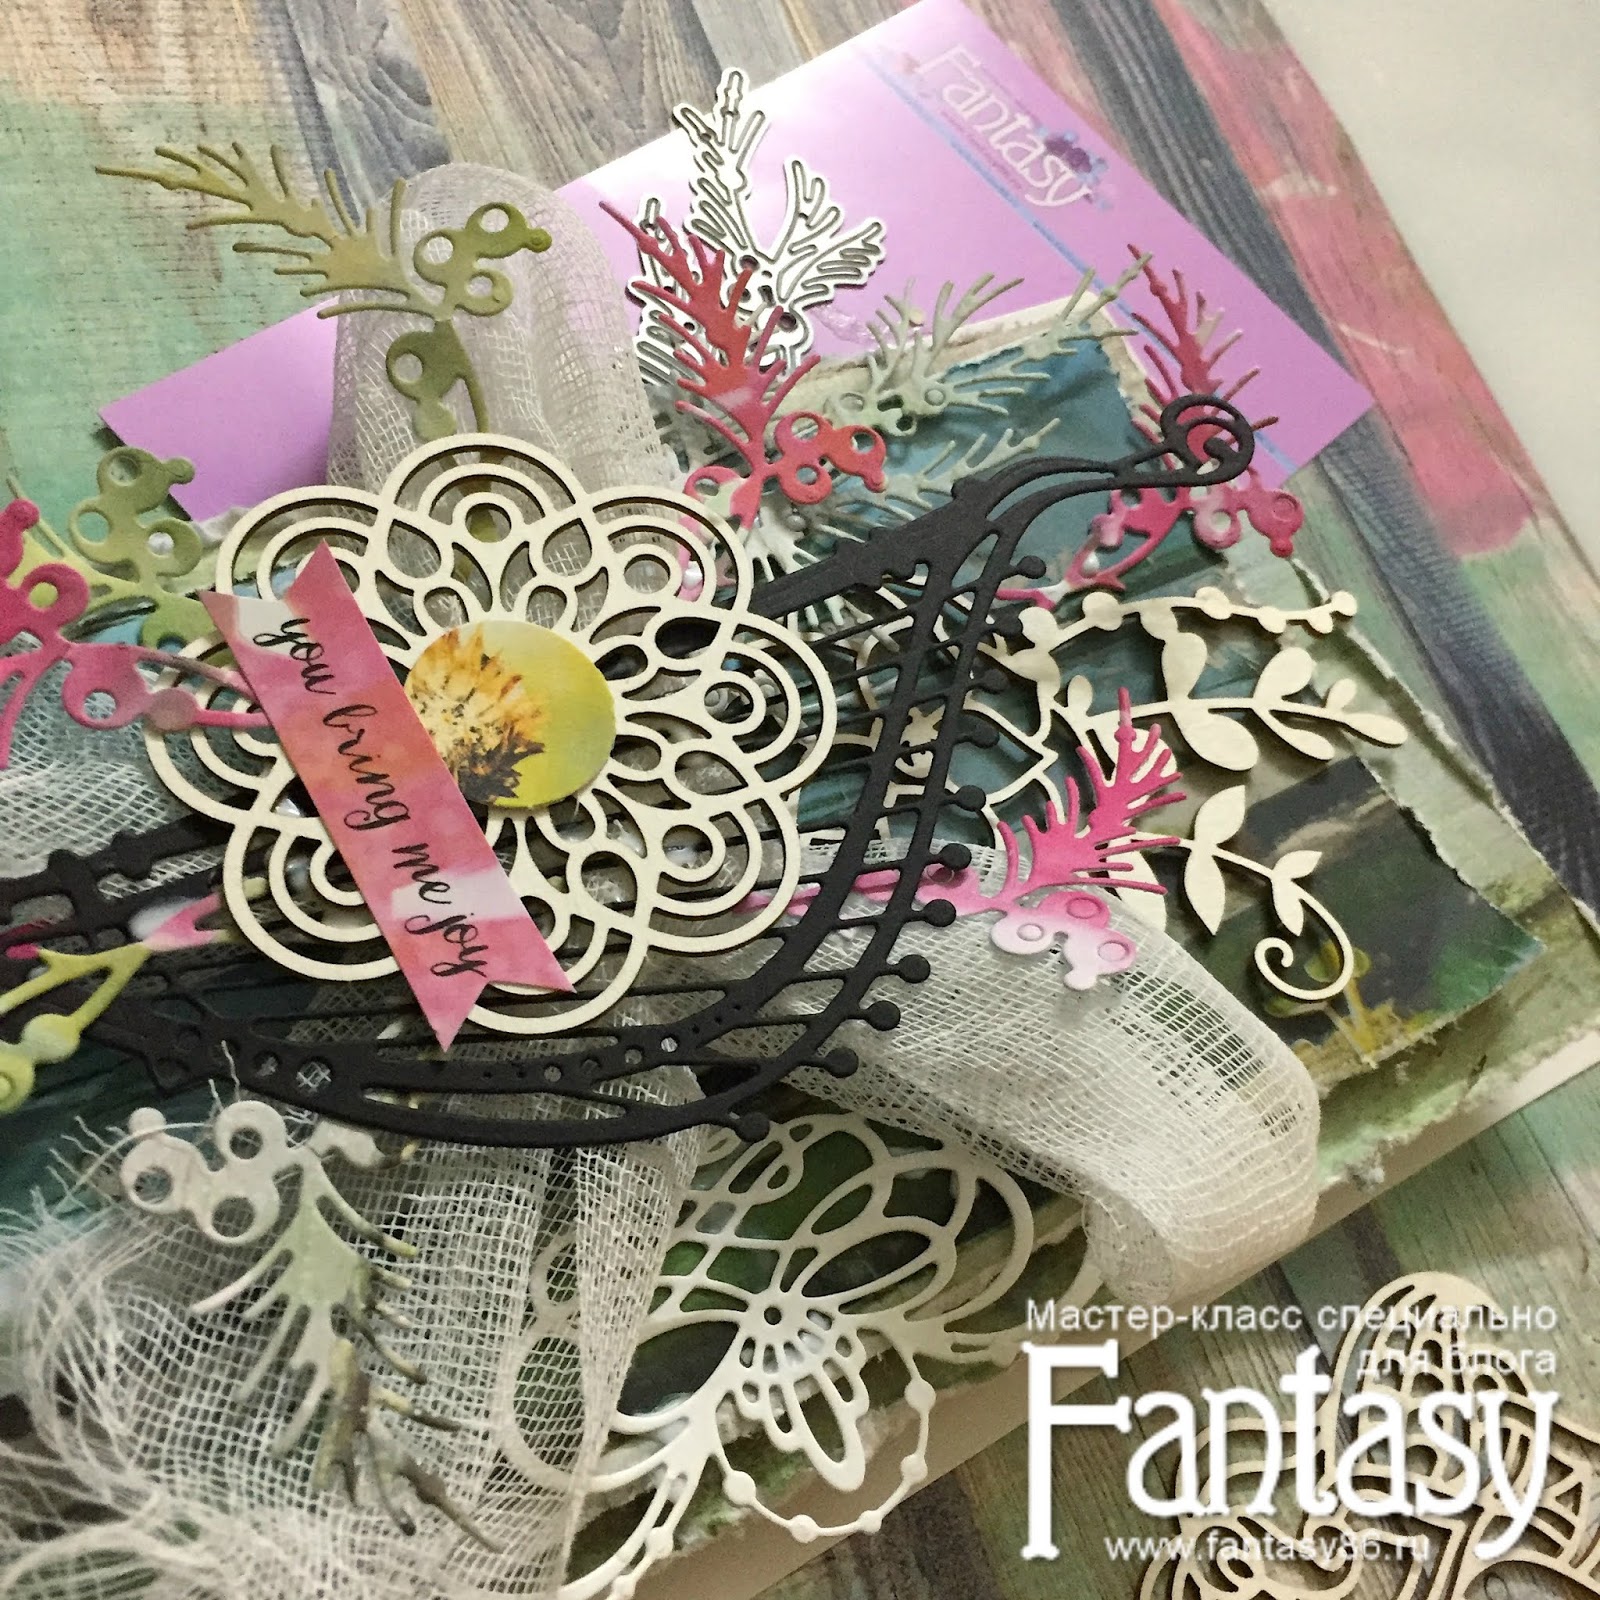
Here is a look at the card.

Here's a list of the products used:
Fantasy dies


Fantasy Chipboards


To make the card, first cut a white cardstock at 4.75" x 8".

Next, Cut two different pattern papers that are 0.5" shorter than the previous layer. Distress the edges with a scissors.

Use scrap cardboard to stick the layers. This will add depth and dimension between the layers.


Next, make a ribbon using cheese cloth and glue it down. This will add contrast, as well as give some dimension to the layers.

Choose your die-cuts and chipboards.


Begin gluing them down, and create a composition. As you build, you'll see the card looking vibrant. Make sure to add some contrast colour . We've used pattern paper to cut some die cuts.

Add a sentiment and complete the card.

Here are some close-ups:


Hugs,

Комментариев нет:
Отправить комментарий